
Butterfinger Balls Recipe – Easy No-Bake Candy Everyone Will Crave!
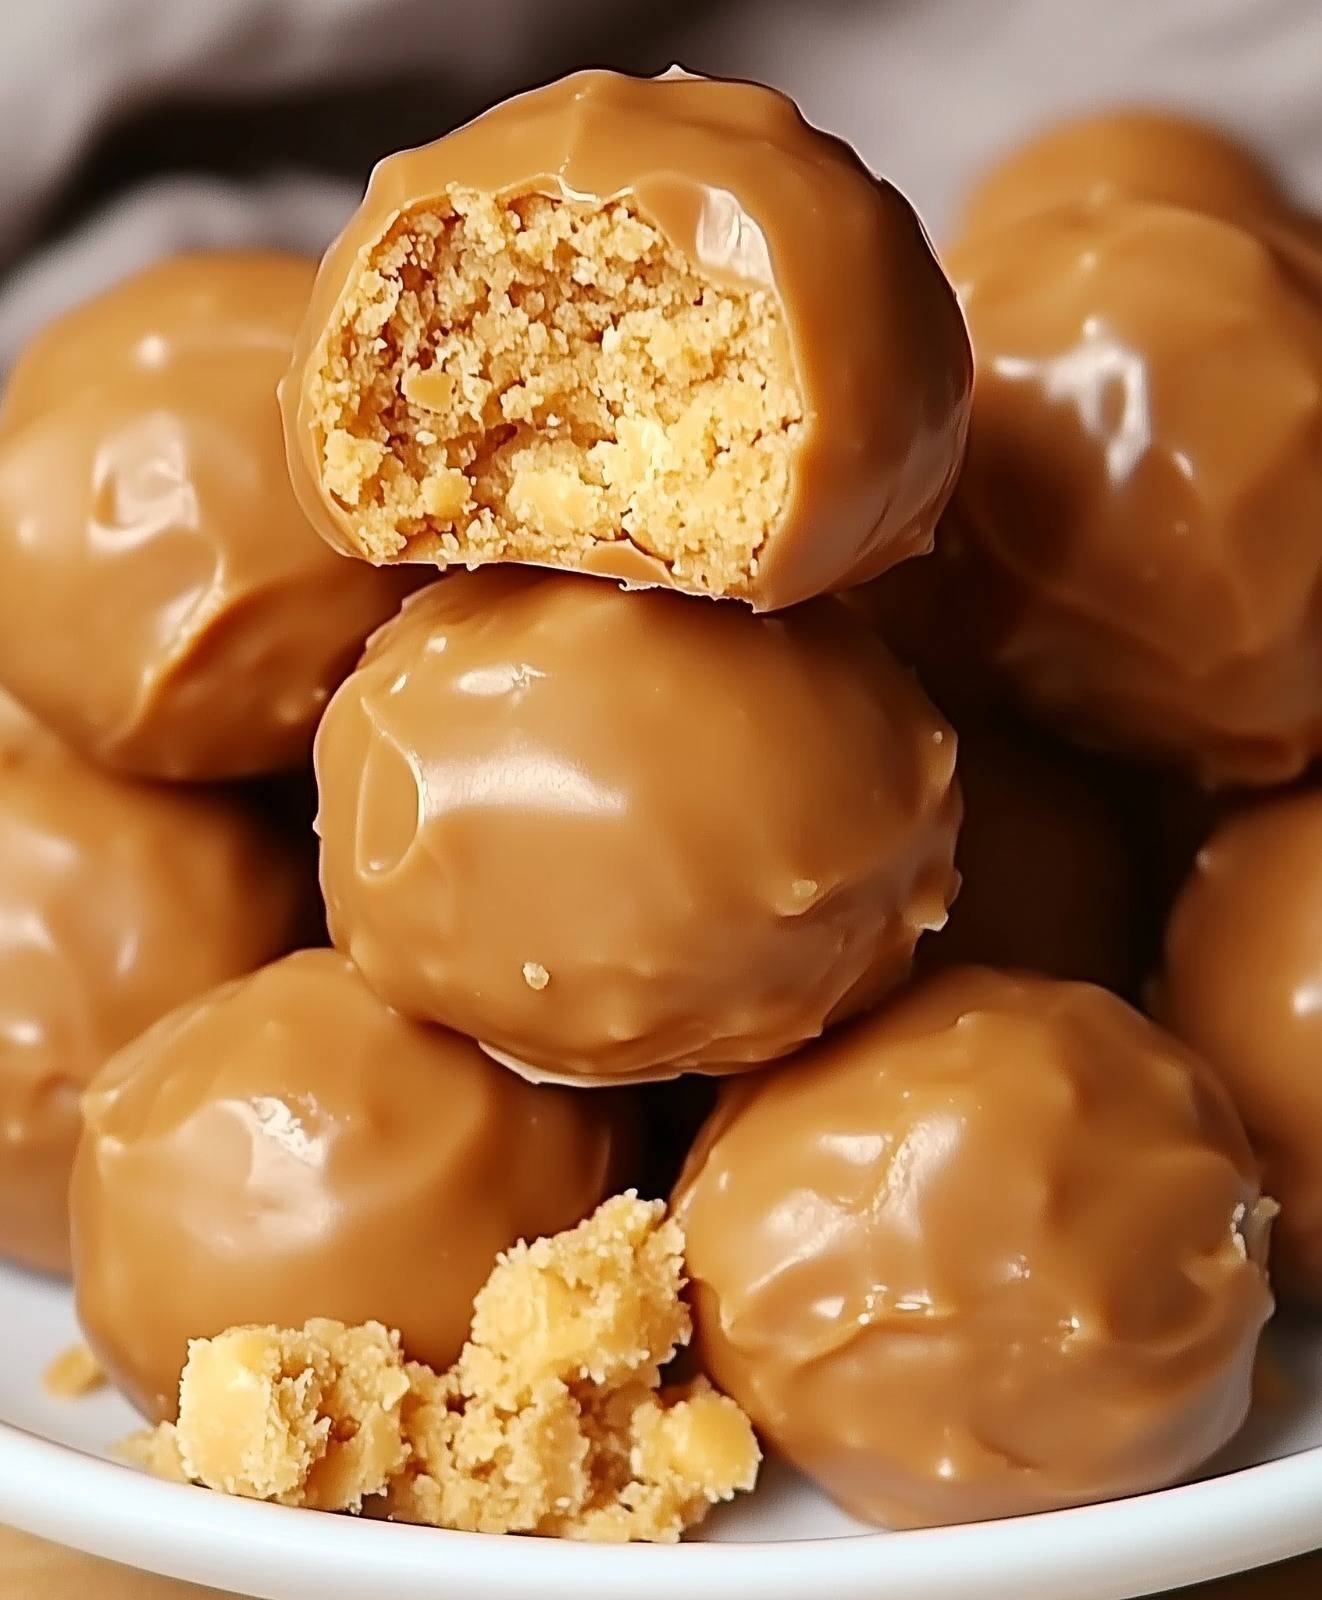
Looking for a fun, no-bake dessert that tastes just like your favorite candy bar? These Butterfinger Balls are a simple, crowd-pleasing treat made with creamy filling, crushed Butterfingers, and a rich chocolate coating.
They’re perfect for holidays, parties, gift boxes, or anytime you need an easy, sweet snack.
Below you’ll find step-by-step instructions, tips, and variations to make your Butterfinger Balls perfect every time!
Ingredients
Before you start, gather these ingredients:
-
2 cups crushed Butterfinger candy bars (about 16 fun-sized bars)
-
8 oz. cream cheese, softened to room temperature
-
2 cups semi-sweet chocolate chips
-
1 tablespoon vegetable shortening (optional) for smoother dipping
Tip: Use fresh Butterfingers for the best flavor and crunch.
How to Make Butterfinger Balls
Step 1: Crush the Butterfinger Candy Bars
-
Unwrap the Butterfingers.
-
Place them in a resealable plastic bag.
-
Use a rolling pin or heavy skillet to crush them into fine crumbs.
Tip: Finer pieces create a smoother filling.
Step 2: Mix the Filling
-
In a large mixing bowl, add:
-
2 cups crushed Butterfingers
-
8 oz. softened cream cheese
-
-
Use a spoon or hand mixer to blend until fully combined and creamy.
Optional: For extra flavor, mix in 1 tablespoon peanut butter.
Step 3: Shape and Chill
-
Scoop about 1 tablespoon of mixture and roll it into a 1-inch ball using your hands.
-
Place each ball onto a baking sheet lined with parchment or wax paper.
-
Refrigerate for 30 minutes until firm.
Tip: Chilling helps the balls hold their shape for dipping.
Step 4: Melt the Chocolate
-
Pour 2 cups semi-sweet chocolate chips into a microwave-safe bowl.
-
Add 1 tablespoon vegetable shortening if using (it helps the chocolate melt smoothly).
-
Microwave in 30-second intervals, stirring after each, until melted and glossy.
Alternative: Use a double boiler to melt the chocolate gently.
Step 5: Dip the Balls
-
Remove the chilled Butterfinger balls from the refrigerator.
-
Use a fork or dipping tool to lower each ball into the melted chocolate, turning to coat completely.
-
Lift out, letting excess chocolate drip off.
Step 6: Set the Chocolate
-
Place the coated balls back onto the parchment-lined baking sheet.
-
Let them sit at room temperature or refrigerate until the chocolate is fully set and hardened.
Recipe Tips & Variations
-
Consistency: Be sure the Butterfinger pieces are finely crushed for a smooth filling.
-
Flavor Boost: Stir in a spoonful of peanut butter for extra richness.
-
Different Coatings: Dip in white chocolate or milk chocolate for variety.
-
Decorate: Sprinkle crushed Butterfinger pieces, chopped nuts, or drizzle with melted white chocolate before the coating sets.
-
Storage: Keep in an airtight container in the refrigerator for up to 1 week or freeze for longer storage.
Why You’ll Love This Recipe
No baking required
Only 4 simple ingredients
Rich, creamy, and crunchy all in one bite
Perfect make-ahead dessert for parties or gifts
Final Thoughts
That’s it! Now you have a foolproof way to make homemade Butterfinger Balls with just a few easy steps. Every bite is creamy, chocolatey, and packed with the unmistakable flavor of Butterfinger.